How to Prepare GFC with a 10ml Kit: A Step-by-Step Protocol for Practitioners
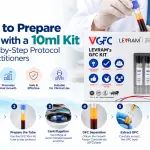
How to Prepare GFC with a 10ml Kit: A Step-by-Step Protocol for Practitioners
A good GFC outcome starts well before the first injection. Consistent preparation is what gives every patient the same quality of concentrate, session after session. This guide walks through the typical workflow for a 10ml GFC kit so your team can standardize its process. Always follow the instructions supplied with your specific kit, since timings and speeds can differ between products.
Before You Begin
Confirm patient suitability. Review medical history, current medications (particularly blood thinners), and any conditions that may affect blood collection or treatment. Obtain informed consent and document baseline photos.
Prepare your workstation. Use a clean, dedicated area and maintain aseptic technique throughout. Check kit packaging for damage and confirm expiry dates before opening.
Check your equipment. A centrifuge capable of reaching the required speed (typically around 3500 RPM for this kit format) should be calibrated and balanced, ideally with a counterweight tube ready if you're spinning an odd number of tubes.
What's in the Kit
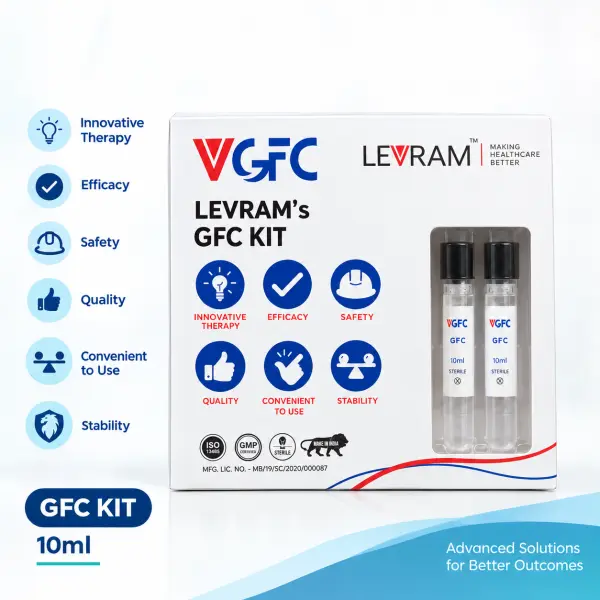
A typical 10ml GFC kit includes:
- GFC vacuum tubes (10ml), commonly a pack of two
- Plain tubes for separating the plasma
- Syringe
- Needle
- Holder / blood collection set
Lay everything out within reach before you start so the process runs smoothly and without interruptions.
Step 1: Collect the Blood
Draw 10ml of blood directly into the GFC vacuum tube using the collection set and holder, following standard venipuncture technique.
- Fill the tube to the intended vacuum volume so the blood-to-activator ratio is correct.
- Gently invert the tube as directed by the kit instructions to mix the blood with the activator. Avoid vigorous shaking, which can damage cells.
- Label the tube with the patient's name and time of collection immediately.
Step 2: Activate
Allow the tube to rest for about 30 minutes so the platelet activator can do its work. During this window, the activator prompts platelets to release their growth factors.
- Keep the tube upright at room temperature unless your kit instructions specify otherwise.
- Use this time to prepare the treatment area, consent forms, and any topical anesthetic.
Step 3: Centrifuge
After activation, load the tube into the centrifuge and spin at the specified settings. For this kit format, a typical protocol is approximately 3500 RPM for 10 minutes.
- Balance the rotor carefully. Place tubes opposite each other, using a water-filled counterweight tube if needed.
- Do not open the centrifuge lid until the rotor has come to a complete stop.
- Handle the tube gently afterward so the separated layers aren't disturbed.
Step 4: Extract the Concentrate
Once spinning is complete, you should see separated layers in the tube. Using sterile technique, draw off the concentrated GFC layer (typically around 7–8ml from a 10ml draw) with the syringe and needle provided. The plain tube in the kit can be used for plasma separation as directed.
- Draw slowly to avoid pulling up unwanted layers.
- Transfer the concentrate into sterile syringes ready for injection.
- Label syringes clearly if storing for later use.
Step 5: Prepare the Scalp and Apply
Cleanse the scalp thoroughly with an appropriate antiseptic. Apply topical anesthetic if desired and allow sufficient time for it to take effect. Then administer the GFC according to your clinical protocol, using fine needles or a micro-needling technique across the treatment zones.
- Plan injection distribution in advance so the full volume covers all intended zones evenly, such as the hairline, temples, crown, and vertex.
- Maintain consistent depth and spacing between injection points.
- Observe the patient throughout for comfort and any adverse reactions.
Step 6: Storage If Not Used Immediately
According to manufacturer guidance for this type of kit, prepared GFC remains stable for around 8 hours at room temperature or up to 7 days when refrigerated at 4°C. If you intend to store any concentrate:
- Keep it in sterile, clearly labeled syringes
- Refrigerate promptly and avoid temperature fluctuations
- Document the preparation time and storage conditions
- Use within the stability window and follow your clinic's own infection control policies
Always verify storage claims against your kit's official documentation before relying on them in clinical practice.
Step 7: Aftercare Guidance for Patients
Provide clear post-treatment instructions, which commonly include:
- Avoiding harsh hair products, heavy sweating, or strenuous exercise for a short period
- Keeping the scalp clean and avoiding touching or scratching injection sites
- Expecting mild tenderness, redness, or swelling for 24–48 hours
- Contacting the clinic if there is persistent pain, signs of infection, or unusual swelling
Troubleshooting Common Issues
Low yield of concentrate Check that the tube was filled to the correct volume, the activation time was respected, and the centrifuge settings matched the protocol.
Poor layer separation Verify centrifuge speed and time, and confirm the rotor was properly balanced. Avoid disturbing the tube after spinning.
Difficulty with blood draw Ensure the patient is well hydrated and warm before collection, and confirm the vacuum tube hasn't lost vacuum due to damage or expiry.
Inconsistent results between sessions Review whether activation timing, spin settings, and handling are being applied the same way by every team member.
Tips for Standardizing Your Protocol
- Create a written, step-by-step checklist posted near the workstation
- Time each step rather than estimating, especially the activation window
- Train every team member on the same protocol and re-check technique periodically
- Keep a simple log of tube lot numbers, preparation times, yields, and storage conditions for traceability
- Photograph and document patient progress at regular intervals, with consent
Safety Reminders
- Use sterile technique at every step, since the final product is injected into the scalp
- Never reuse needles, syringes, or single-use kit components
- Dispose of sharps and biological waste according to local regulations
- Treat only suitable candidates and be transparent about realistic outcomes
Final Thoughts
A reliable GFC workflow comes down to consistency: correct volume, correct timing, correct spin settings, and clean technique every single time. The 10ml kit's straightforward process, collect, activate, centrifuge, and extract, makes it practical to build into a busy clinic day, and the extended volume gives you room to treat larger or multi-zone areas thoroughly. With a documented protocol and a well-trained team, you can deliver dependable results and build patient trust over time.
GFC Kits
-50%

-55%
Latest Posts